Rear Door Trim Panel: Removal
NOTE:
Removal steps in this procedure may contain installation details.
NOTE:
Some variation in the illustrations may occur, but the essential information is always correct.
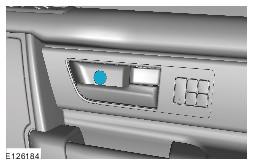
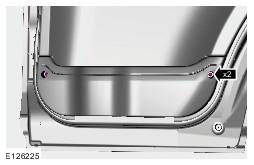
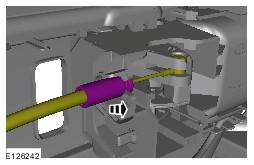
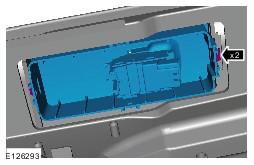
- See figure.
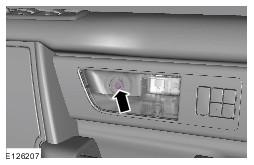
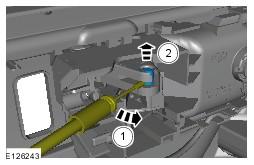
- See figure.
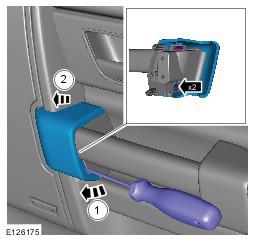
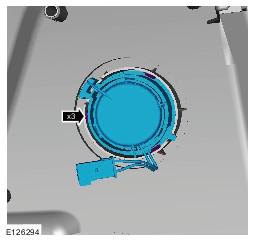
- See figure.CAUTION: Take extra care not to damage the component. Apply masking tape to the end of the screwdriver.CAUTION: When removing the chrome finisher from the trim panel, make sure the components are not damaged. If necessary protect the surrounding areas using masking tape.CAUTION: Make sure that the clips are correctly located.
- See figure.CAUTION: Take extra care not to damage the component. Apply masking tape to the end of the screwdriver.CAUTION: When removing the chrome finisher from the trim panel, make sure the components are not damaged. If necessary protect the surrounding areas using masking tape.CAUTION: Make sure that the clips are correctly located.
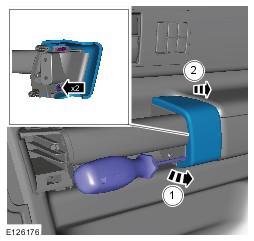
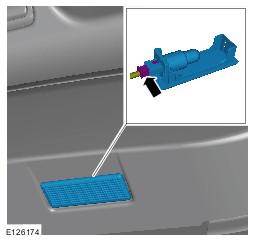
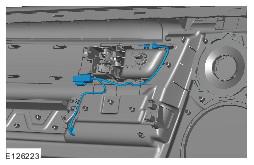
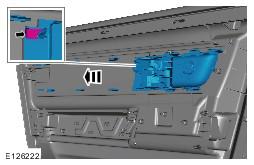
- See figure.
- See figure.
- See figure.
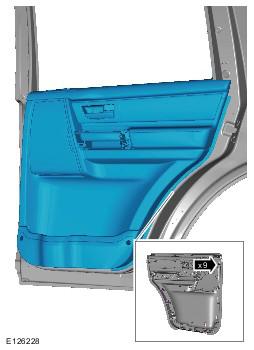
- Detach the rear door trim panel.CAUTION: Take extra care not to damage the wiring harnesses.
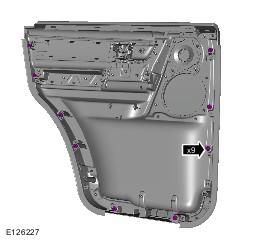
- See figure.
- See figure.
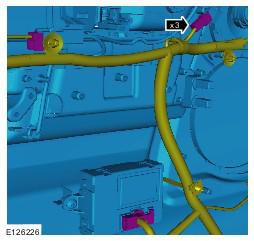
- See figure.CAUTION: Make sure that the release cable is removed from the door trim panel using the plastic fixing and not using the cable.
- See figure.
- Remove the rear door trim panel.
- See figure.NOTE: Do not disassemble further if the component is removed for access only.
- See figure.
- See figure.
- See figure.
- Release the retaining tang.
- See figure.