Transmission - V8 5.0L Petrol: Installation
NOTE:
Some variation in the illustrations may occur, but the essential information is always correct.
NOTE:
Some illustrations may show the transmission removed for clarity.
NOTE:
Some illustrations may show the engine removed for clarity.
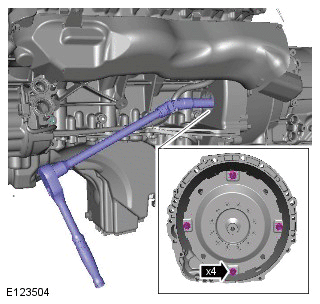
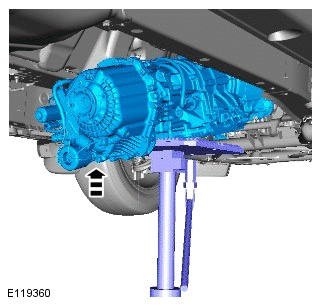
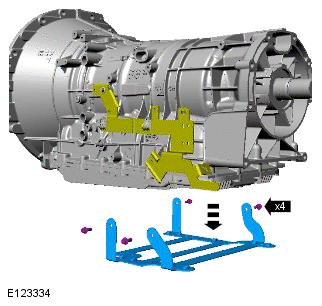
- With assistance, install the transmission.
- Torque: 40 Nm
- Torque: 10 Nm
- Torque: 10 Nm
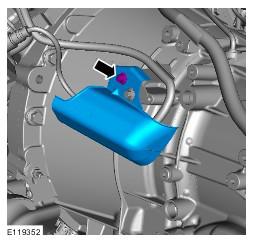
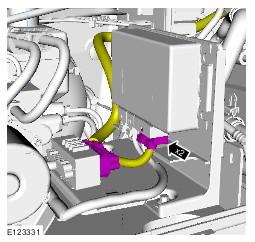
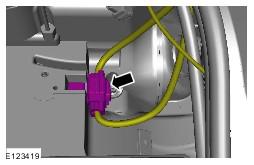
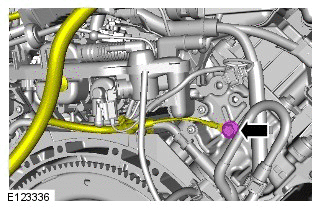
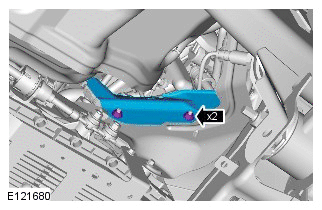
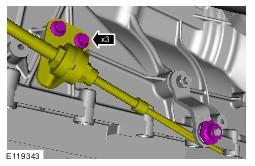
- See figure.
- See figure.
- See figure.
- See figure.
- Torque: 3 Nm
- Torque: 9 Nm
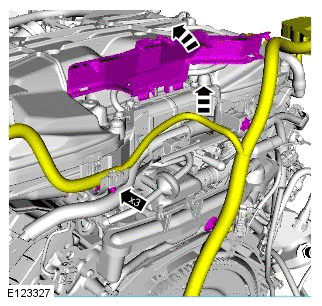
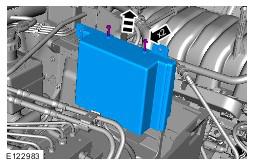
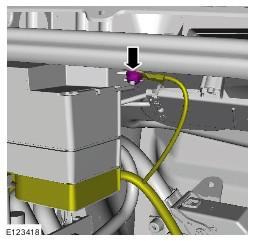
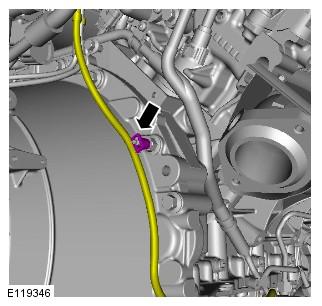
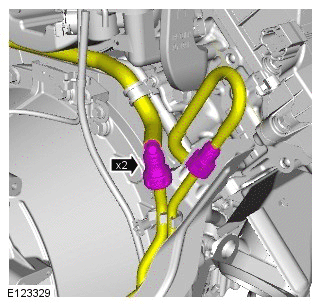
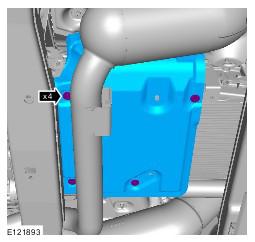
- See figure.
- See figure.
- See figure.
- Torque: 9 Nm
- See figure.
-
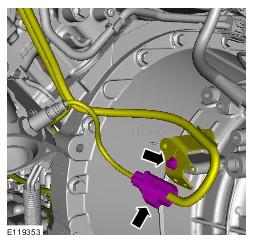
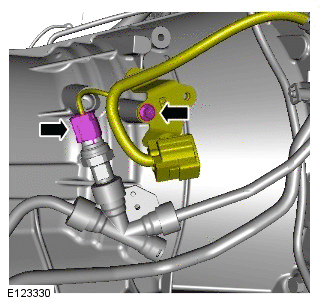
- Install new O-ring seals.
- Torque: 12 Nm
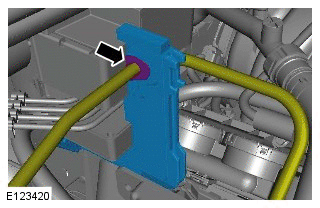
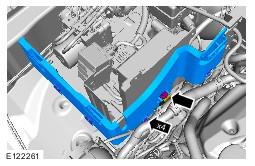
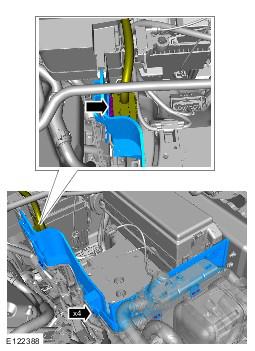
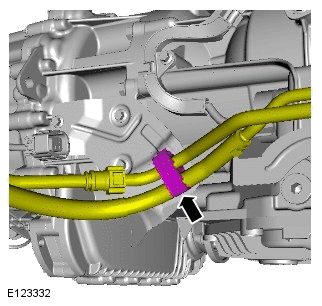
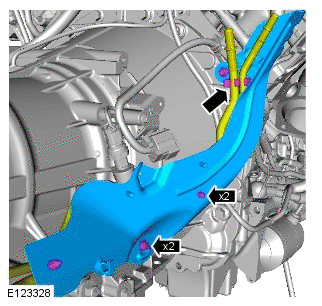
- See figure.
- See figure.
- See figure.
- Torque: 10 Nm
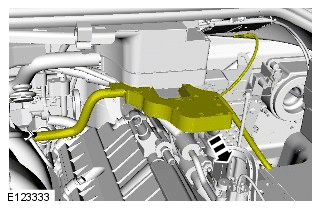
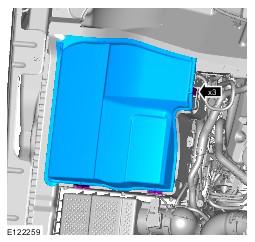
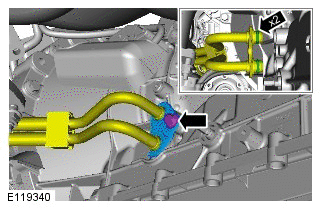
- See figure.
- Torque: 10 Nm
- Torque: 10 Nm
- Torque: 9 Nm
- Torque:
- M6 Bolt 10 Nm
- M6 Nut 12 Nm
- Torque: 8 Nm
- See figure.
- Make sure that the alignment mark is visible through the inspection hole on install of the first torque converter bolt.
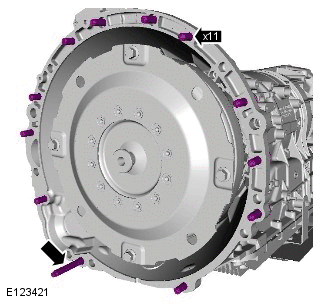
Torque: 63 Nm
- Refer to: Front Driveshaft - Removal and Installation (5.0L) .
- Refer to: EXHAUST SYSTEM .
- Refer to: Rear Driveshaft - Removal and Installation .
- Refer to: Axle Assembly .
- Lower the vehicle.
- Install the battery. Refer to: BATTERY .
- If a new component has been installed, configure using Land rover approved diagnostic equipment.
CAUTION:
Apply grease of the correct specification to the torque converter spigot.
CAUTION:
Make sure the torque converter remains connected to the transmission.
NOTE:
RHD illustration shown, LHD is similar.

NOTE:
RHD illustration shown, LHD is similar.
WARNING:
Be prepared to collect escaping fluids.
WARNING:
Do not smoke or carry lighted tobacco or open flame of any type when working on or near any fuel related components. Highly flammable vapors are always present and may ignite. Failure to follow these instructions may result in personal injury.

CAUTION:
Only rotate the crankshaft clockwise.