Lower Arm Rear Bushing: Removal
NOTE:
If installing the rear bushes, both rear bushes must be installed.
NOTE:
Take note of the fitted position of the bush.
NOTE:
Removal steps in this procedure may contain installation details
- Make sure that the tire pressures are correct and that the vehicle is at the correct ride height. For additional information, refer to: Ride Height Adjustments .
- Raise and support the vehicle.
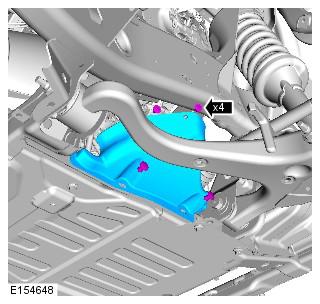
- Remove the clips and trim for access to the lower arm camber bolts.
- Mark the position of the bolts in relation to the chassis brackets making note of the original position.
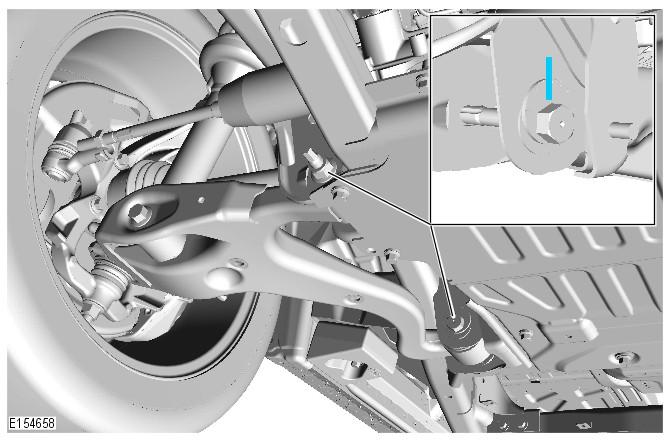
- Remove lower arm camber bolts and the lower damper bolt and rotate arm downwards for access.
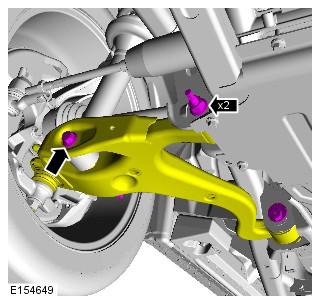
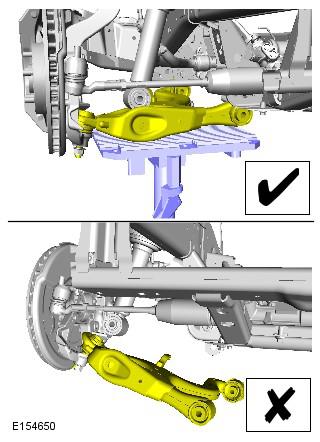
- Using a suitable transmission jack, support the lower arm in the position illustrated.
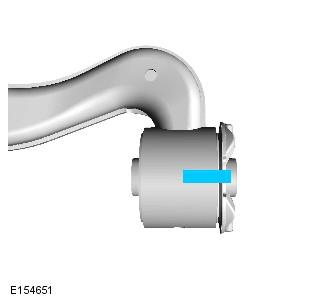
- Mark alignment of original bush prior to removal.
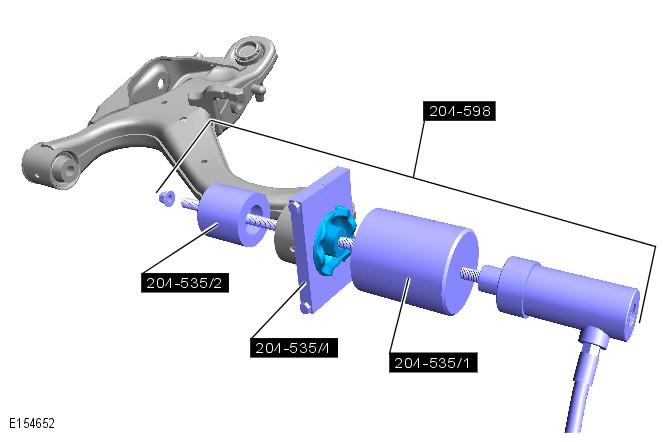
- Using the special tools, remove the bush.
WARNING:
Do not work on or under a vehicle supported only by a jack. Always support the vehicle on safety stands.
CAUTION:
Make sure the lower arm is supported. Failure to follow this instruction may result in damage to the ball joint.
NOTE:
Mark the new bush to aid correct orientation on installation.
CAUTION:
Make sure correct alignment is maintained whilst carrying out the step.