Front Air Shock Absorber: Removal
NOTE:
This procedure should also be used to remove the front air spring.
- Remove the front shock absorber and air spring assembly. See Front Shock Absorber and Air Spring Assembly . .
- Check the assembly for leaks.
- Inflate the module to 4 bar and check for pressure loss using leak detector spray.
- If a leak is suspected, immerse the shock absorber and air spring assembly in a tank of water to locate the source of the leak and mark the area.
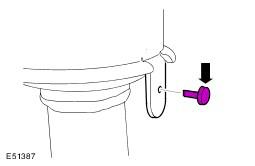
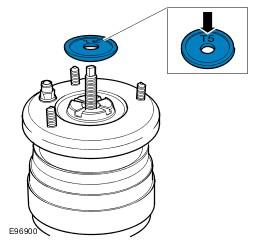
- Remove the nylon retaining pin.
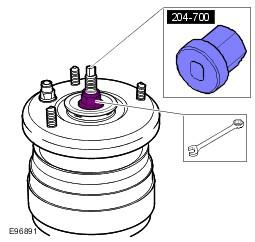
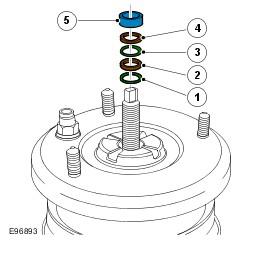
- Using the special tool, remove the nut.
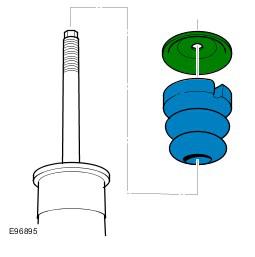
- Remove the rebound washer.
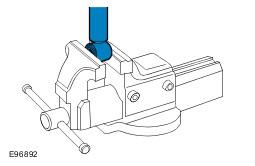
- Position the front shock absorber and air spring assembly in a vice.
- Remove and discard the 3 spacers and 2 O-ring seals.
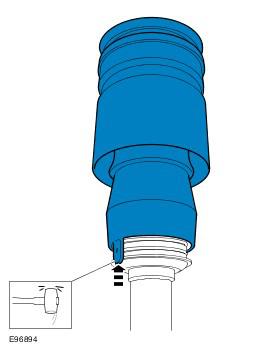
- Remove the air spring.
- Using a soft faced mallet, gently tap the sleeve support upwards to release it from the O-ring seals.
- Remove the bump plate and spring aid.
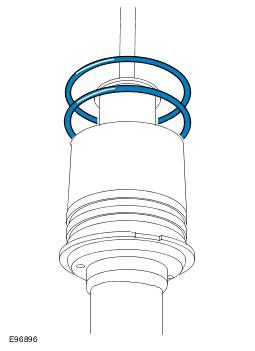
- Remove and discard the 2 large black O-ring seals from the lower seal carrier.
- Remove the front shock absorber and air spring assembly from the vice.
NOTE:
If no leak is detected, investigate other areas of the air suspension for faults.
CAUTION:
Make sure protective jaws are installed to the vice. Failure to follow this instruction may result in damage to the component.
CAUTION:
Do not clamp the shock absorber tube. Failure to follow this instruction may result in damage to the component.
NOTE:
Note the fitted position.