Rear Shock Absorber And Air Spring Assembly: Removal
NOTE:
Only the air spring being removed needs to be depressurized.
NOTE:
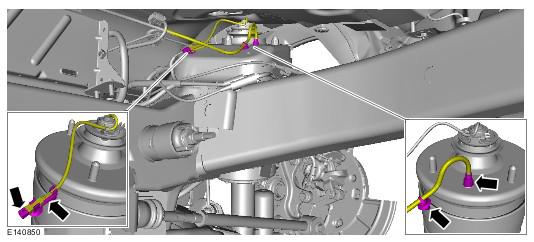
RH illustration shown, LH is similar.
- Using the Land Rover approved diagnostic system, depressurize the air suspension. See Air Suspension System Depressurize and Pressurize .
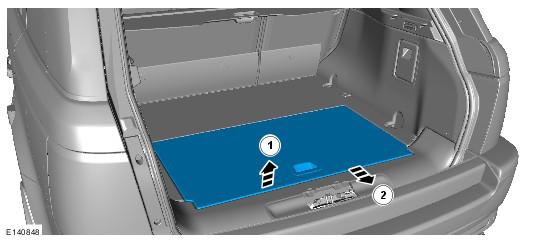
- Remove the loadspace floor panel.
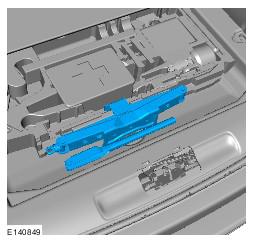
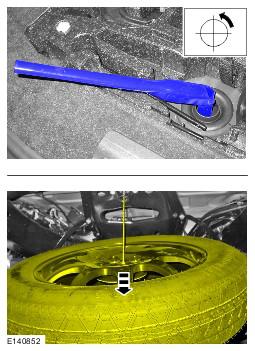
- Remove the jack and wheel brace.
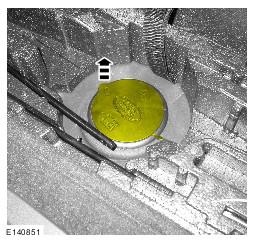
- Remove the spare wheel/tool compartment cover.
- Lower the spare wheel and tire.
- Remove the spare wheel.
- Disconnect the spare wheel release strap and position aside.
- Raise and support the vehicle.
- Remove the Voss connector from the air line.
- Remove and discard the collet and the union.
- Disconnect the active damping wiring.
- Remove the wheel and tire.
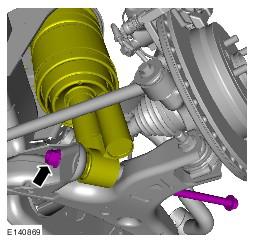
- Disconnect the shock absorber and air spring assembly from the lower arm.
- Remove the nut and bolt.
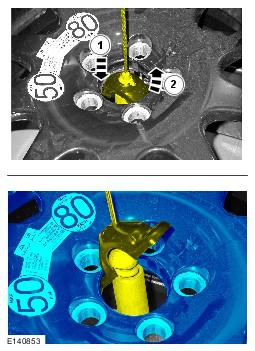
- Remove the three shock absorber and air spring retaining nuts.
- Remove the shock absorber and air spring assembly.
WARNING:
Do not work on or under a vehicle supported only by a jack. Always support the vehicle on safety stands.
CAUTION:
Make sure that all openings are sealed. Use new blanking caps.